 Orcas Island Siding
 The Problem You Can't See Is the One That Costs the Most
By the time siding damage shows up on the outside of a house — a soft spot, a stain, a section that looks slightly warped — the real damage has usually been happening behind the wall for months or years. Siding's main job isn't to look good, although that matters. Its main job is to keep water moving down and away from your wall assembly instead of into it. When that system fails, the failure almost always starts invisibly, behind the cladding, long before a homeowner notices anything from the driveway.
On Orcas Island, where houses take on salt-laden air, long stretches of driving rain, and months of shaded, moss-friendly conditions every year, understanding what's actually happening behind your siding isn't just curiosity. It's the difference between a homeowner who catches a problem at the flashing-repair stage and one who ends up replacing rotted sheathing and framing.
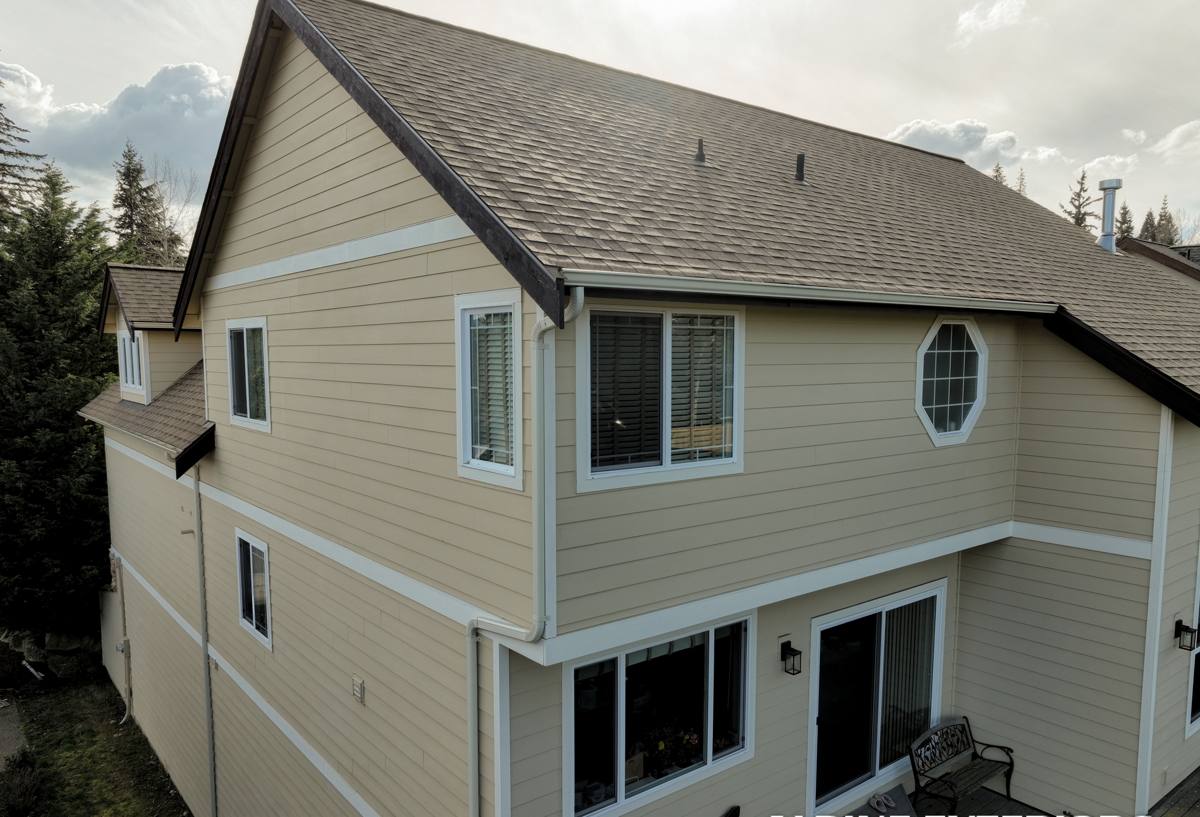
How Water Actually Gets Behind Siding
No siding product, installed by anyone, is 100% waterproof at every seam, fastener hole, and penetration. Manufacturers and building codes both assume some water will get past the outer layer — that's why a correctly built wall has a water-resistive barrier (WRB, often called housewrap) behind the siding, with flashing directing water back out at every window, door, deck ledger, and horizontal trim piece. The siding's job is to shed the majority of the water; the WRB and flashing are the backup system that handles the rest.
Water gets behind siding through a short list of predictable paths:
- Nail and fastener holes that weren't sealed or were driven at the wrong depth
- Butt joints and seams where panels or boards meet, especially if caulked instead of flashed
- Window and door trim where flashing was skipped, reversed, or improperly lapped
- Horizontal trim, deck ledgers, and roof-to-wall intersections — classic weak points
- Wicking at the bottom edge of siding that sits too close to grade, decks, or roofing
- Gaps around exterior fixtures, vents, and hose bibs
Once water gets past the first layer, what happens next depends heavily on whether the WRB and flashing were installed correctly, and on how well the wall assembly can dry out afterward. A wall that gets a little water behind it but dries out quickly is fine. A wall that stays damp — because of poor drainage gaps, blocked airflow, or a house wrap installed backward or torn — is where the real problems start.
Why Orcas Island's Climate Pushes This Faster
Every siding system deals with some moisture exposure. What makes San Juan County different is the combination of factors working against a wall assembly at the same time, for most of the year.
Salt Air
Homes near the water on Orcas Island are exposed to salt-laden air that accelerates corrosion on fasteners, flashing, and any exposed metal trim. A fastener that starts to corrode loses holding strength and can also create a wider path for water to track along the shank into the wall.
Driving Rain
Wind-driven rain doesn't just fall on a wall — it gets pushed sideways and upward into laps, seams, and trim joints that were designed for water running straight down. Orcas Island's exposure to Pacific storms means walls on the windward side of a house take on rain loads that a sheltered inland home never sees.
Moss and Shade Season
Heavy tree cover, common on wooded island lots, keeps siding shaded and damp longer after every rain. That extended dry-out time is exactly what moss, algae, and mildew need to establish. Once moss holds moisture directly against a siding surface for weeks at a time, any material that isn't dimensionally stable or moisture-resistant is going to show it — swelling, staining, or softening at the point of contact.
None of these factors alone would necessarily be a problem. Together, over the 15-20 year span most siding is expected to perform, they add up to real stress on a wall assembly that a drier, less coastal climate wouldn't apply.
Where We Find the Damage Most Often
After years of working on homes across the island, a handful of locations account for most of the moisture problems we get called to look at:
- Below windows — where head flashing was missing or the sill pan wasn't sloped to drain outward
- Deck ledger connections — where the ledger board meets the wall and flashing is easy to skip during construction
- Bottom courses near grade — where soil, mulch, or hardscaping holds moisture against the lowest siding boards
- Roof-to-wall step flashing — where a dormer, porch roof, or chimney meets a sidewall
- North and shaded elevations — where sun exposure never fully dries the wall between rain events
These aren't unique to any one siding brand. They're the physics of water and gravity meeting a vertical wall. What differs by product is how much margin for error the material has when water does find its way in.
What's Actually Happening Inside the Wall
Once moisture is trapped against sheathing or framing, a few things happen in sequence. First, the wood-based components — sheathing, studs, sill plates — begin absorbing water and their moisture content rises above the range where rot fungi stay dormant. Given sustained dampness and moderate temperatures, decay fungi activate and begin breaking down the wood fiber. This is a slow process, often taking a couple of seasons before it's visible from outside, which is exactly why it goes unnoticed for so long.
At the same time, trapped moisture creates conditions for mold growth on framing and the back side of insulation, which can affect indoor air quality even when the exterior still looks presentable. Metal fasteners exposed to that same damp environment corrode faster, weakening their grip and sometimes staining the siding face as rust migrates outward through the material.
The siding material itself matters enormously at this stage. Materials that absorb water and don't dry out efficiently will swell, delaminate, or soften at the point of contact. Materials that are dimensionally stable and don't wick moisture along their length tend to protect the wall behind them even when water does make contact, buying time before anything structural is affected.
How Different Siding Materials Handle Moisture
Not all siding responds the same way once water gets past the first line of defense. This is one of the biggest reasons we made the call, as a company, to install only fiber cement.
| Material | Moisture Behavior | Practical Result Over Time |
|---|---|---|
| Vinyl siding | Doesn't absorb water itself, but panels expand/contract and can warp; seams and laps rely entirely on correct overlap and drainage | Wall behind it can stay wet longer if drainage details are off; panel itself rarely rots but doesn't protect what's behind it |
| Primed spruce / cedar boards | Wood absorbs moisture readily at cut ends, fastener holes, and any point where the factory finish is broken | Prone to swelling, cupping, and rot at joints and bottom edges, especially in shaded, damp conditions |
| LP SmartSide (engineered wood) | Treated to resist moisture better than raw wood, but still wood-based; edges and cut ends need careful sealing | Performs well when installation is precise; vulnerable at any point where the treated surface is compromised |
| James Hardie fiber cement | Made from cement, sand, and cellulose fiber; doesn't absorb water the way wood does and won't rot or delaminate from moisture exposure | Holds up under sustained damp conditions with far less sensitivity to installation imperfections |
This isn't a knock on every other product on this list — vinyl and engineered wood both have real advantages in cost or appearance, and plenty of homes wear them well when installed correctly and maintained. But given what Orcas Island's climate does to a wall over a 20-year window, we standardized on Hardie fiber cement because it gives homeowners the widest margin for error when water inevitably finds a way past the outer layer — which, on a coastal, tree-shaded island, it will.
Warning Signs Worth Checking Now
You don't need to hire anyone to do a basic visual check of your own siding. Walk the perimeter of your house, especially the shaded and windward sides, and look for:
- Soft spots when you press on siding near the bottom courses or below windows
- Peeling or bubbling paint, which often signals moisture pushing out from behind
- Dark staining or streaking below windows, trim, or roof-to-wall intersections
- Visible gaps or separation at seams, corners, and trim boards
- Moss or algae holding directly against the siding surface for extended periods
- A musty smell in rooms along an exterior wall, especially after heavy rain
- Warping, cupping, or a wavy appearance across a section of wall
Any one of these on its own might be minor. Several together, especially on the same elevation, are worth a closer look before the next rainy season.
What Correct Installation Prevents
Material choice matters, but installation is what determines whether any siding material actually performs. A correctly built wall on Orcas Island includes a properly lapped water-resistive barrier, flashing at every window, door, and horizontal transition integrated with that barrier (not just caulked over it), fasteners set to the right depth and spacing, and a drainage gap or rainscreen behind the siding so any water that does get through has somewhere to go besides straight into the sheathing.
This is also where a lot of moisture problems on the island actually originate — not from the siding material chosen, but from flashing details skipped or caulk used as a substitute for proper flashing. Caulk fails; it dries out, cracks, and shrinks over years of UV and salt exposure. Flashing, installed correctly, doesn't rely on staying intact to keep working — it directs water by shape and lap sequence, which holds up regardless of sealant condition.
Repair, Reseal, or Replace
Once moisture damage is confirmed, the right response depends on how far it's progressed and how much of the wall assembly is affected.
| Situation | Typical Response |
|---|---|
| Isolated soft spot or stain, sheathing still solid | Localized repair — re-flash the problem area, replace affected siding boards |
| Recurring staining or moss buildup at the same spot each year | Investigate the flashing detail behind it; a cosmetic fix without addressing the source won't hold |
| Soft or spongy sheathing over a broad section | Section replacement — siding, WRB, and sheathing repair together |
| Widespread rot, multiple elevations, older wood or engineered siding nearing end of life | Full re-side, addressing wall assembly and drainage details across the house |
The earlier any of this gets caught, the smaller and cheaper the fix. Waiting until siding looks visibly damaged usually means the wall behind it has been compromised for a while already.
Get an Honest Look Before It Gets Expensive
If you've noticed any of the signs above, or you just want a professional read on how your siding is holding up against Orcas Island's salt air, rain, and shade, we're happy to take a look. There's no cost and no pressure to a free estimate — just a straightforward assessment of what's going on and what your real options are.