 Orcas Island Siding
 New-Construction Windows for Mountain Lake Homes
If you're building a new home or a major addition near Mountain Lake, the windows are one of the few components that have to get everything right the first time: structural framing tolerances, weather-tight flashing, energy code compliance, and long-term durability against a marine climate that doesn't forgive shortcuts. New-construction window installation is a different job than swapping out an old window in an existing wall, and on Orcas Island it carries extra weight because of what the local weather does to a building envelope over time. This page covers what Mountain Lake homes specifically need from their new windows, what a correct install looks like, and how our process works when we're brought in during a build.
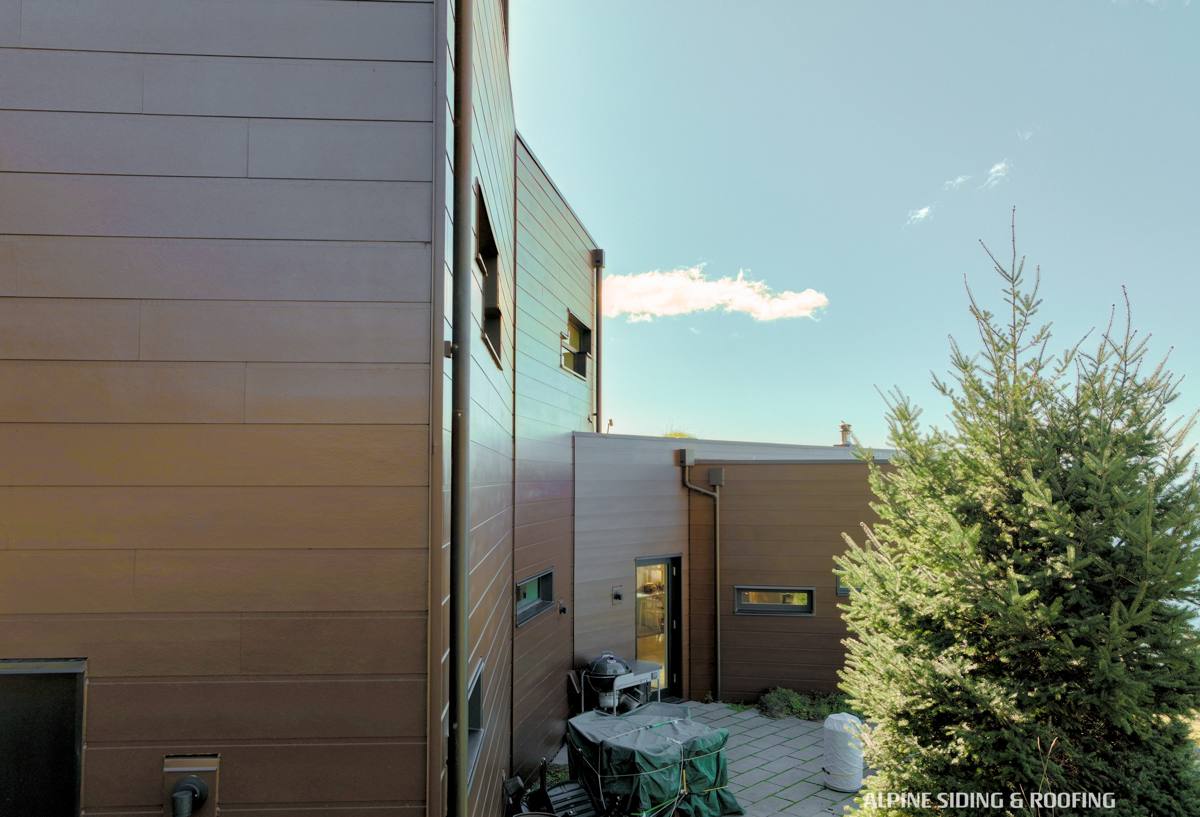
What San Juan County's Climate Does to a New Window Install
Orcas Island sits in a marine environment where salt air, wind-driven rain, and long stretches of damp, shaded conditions are just part of the year. That combination affects new-construction windows in three specific ways:
- Salt air accelerates corrosion on fasteners, hinges, and hardware that aren't rated for coastal exposure — even homes set back from the water get airborne salt on windy days.
- Driving rain, especially in fall and winter storms, pushes water sideways against window openings, not just straight down. A head flashing detail that would be fine in a drier inland climate can fail here if it's not built with a proper drip cap and shingle-lap sequence.
- Moss and algae growth take hold anywhere moisture sits — shaded elevations, north-facing walls, and any assembly that traps water behind the siding instead of shedding it. A window opening that isn't flashed and drained correctly becomes a hidden entry point for exactly that kind of trapped moisture.
None of this means new-construction windows on Orcas Island need to be exotic or overbuilt. It means the installation details — flashing sequence, sealant placement, fastener selection — have to be done correctly and in the right order, every time, because this climate exposes sloppy work faster than a drier region would.
New Construction vs. Replacement: Why the Install Method Is Different
New-construction windows are installed into a bare, unfinished rough opening before siding and exterior trim go on. This is actually the easier scenario for building a fully correct water-management system, because the wall assembly — studs, sheathing, weather-resistive barrier — is fully exposed and accessible. There's no old flashing to work around, no existing siding to patch, and no guesswork about what's hidden behind the wall.
The trade-off is that new-construction installs have to be sequenced correctly with the rest of the build. Windows typically use a nailing flange (fin) that gets integrated with the weather-resistive barrier in a specific shingle-lap order — sill first, then jambs, then head — so that any water working its way down the wall sheds over each layer instead of behind it. Get that sequence wrong, or install windows before the sill pan and flashing tape are properly laid down, and you've built a leak path into a brand-new wall that won't show symptoms for a year or two.
What a Correct New-Construction Window Install Involves
A properly installed new-construction window on an Orcas Island home should include the following, done in this order:
Sill Pan and Flashing Sequence
A sloped, back-dammed sill pan under every window directs any water that gets past the glazing or frame back out to the exterior instead of into the wall cavity. Flashing tape is then applied in a shingle-lap pattern — sill, jambs, head — so each layer overlaps the one below it. The head flashing gets a drip cap detail that kicks wind-driven rain away from the top of the window instead of letting it track sideways under the flange.
Fastening, Shimming, and Air-Sealing
The window has to be shimmed square, level, and plumb before it's fastened — a window that's slightly racked in the opening won't operate correctly and puts uneven stress on the seals over time. Fasteners go in per the manufacturer's schedule, and on this coast we favor corrosion-resistant fastener types over standard galvanized where the manufacturer allows it. Interior air-sealing with low-expansion foam or backer rod and sealant closes the gap between the frame and rough opening without restricting the window's ability to move slightly with temperature changes.
Every one of these steps has to happen before siding goes on, which is why new-construction window work is scheduled tightly with the framing and weather-resistive barrier stages of a build — it's not a job that can be done in isolation from the rest of the shell.
Choosing a Frame Material for This Climate
Frame material matters more here than it would in a dry inland climate, mainly because of how each material handles moisture cycling and salt exposure over decades, not just years.
| Frame Material | Salt Air / Moisture Performance | Maintenance | Notes for New Construction |
|---|---|---|---|
| Vinyl | Good — won't corrode or rot | Low | Cost-effective, wide size range, solid warranty structures from most manufacturers |
| Fiberglass | Very good — dimensionally stable, resists moisture-driven expansion | Low | Higher upfront cost, holds paint well if a custom color is wanted |
| Wood-clad | Depends entirely on cladding integrity — any breach exposes wood core to rot | Higher | We install these selectively and only with careful attention to cladding seams and sealant maintenance |
| Aluminum | Prone to corrosion in salt air unless marine-grade and properly finished | Moderate to high | We generally steer new-construction clients here away from standard aluminum in favor of vinyl or fiberglass, given the maintenance burden this climate adds |
There's no single "correct" frame material for every project — it depends on your budget, the home's design, and how much long-term maintenance you want to take on. What we won't do is recommend a product just because it's cheaper up front if it's a poor match for a marine climate; we'd rather walk you through the honest trade-offs before you commit to an order that takes weeks to arrive.
Our Process, Start to Finish
- Plan review and rough opening verification. We work from your builder's plans or our own field measurements to confirm rough opening sizes before windows are ordered — a mismatch here causes expensive delays once windows are on-island.
- Product selection. We walk through frame material, glazing package, and energy performance options based on your budget and the specific exposure of each elevation on your home.
- Ordering and lead-time planning. We build in realistic lead times, factoring in ferry-dependent delivery to Orcas Island, so your build schedule isn't waiting on windows that got delayed in transit.
- Installation. Sill pan, shingle-lapped flashing, squared and shimmed setting, correct fastening, and interior air-sealing — coordinated with your builder's siding and trim schedule.
- Final check. Every window gets operated, checked for square, and inspected for flashing integration before we sign off.
Checklist: What to Confirm Before Installers Start
Whether you're using our crew or vetting someone else, these are the details worth confirming before new-construction window installation begins on a Mountain Lake build:
- Rough openings have been field-verified against actual window order sizes, not just plan dimensions
- A sloped, back-dammed sill pan is planned for every opening
- Flashing tape will be installed in the correct shingle-lap sequence with the weather-resistive barrier
- Fastener type is appropriate for a marine/salt-air environment
- Frame material and glazing package meet Washington State energy code requirements for this region
- Installation is scheduled to happen before siding, in coordination with the builder's timeline
- Someone is checking each window for square and proper operation before final sign-off
Why a Crew That Already Works Mountain Lake Makes a Difference
Building on Orcas Island comes with logistics that don't exist on the mainland: material orders have to account for ferry schedules, weather windows for exterior work are tighter in the wetter months, and a delay in one trade can ripple through an entire build schedule if the next crew isn't planning around it. A contractor who already works in this area knows how to sequence a window order so it lands on-island in time, how to read the specific exposure of a lot near Mountain Lake — tree cover, wind direction, shade — and how to build a flashing detail that's actually suited to San Juan County's rain patterns rather than a generic installation manual written for a drier climate. That local familiarity is less about convenience and more about avoiding the callbacks and hidden moisture problems that show up two or three winters after a rushed or generic install.
Timeline and Coordinating With Your Builder
New-construction window installation is scheduled around your builder's framing and dry-in timeline, not on its own separate calendar. We coordinate directly with general contractors to make sure windows arrive and get installed at the right point in the sequence — after the weather-resistive barrier is up, before siding starts. On a typical single-family home, the install itself takes a matter of days once the windows are on-site and the openings are ready; the bigger variable is usually lead time on the window order itself, which is why we like to get involved during the planning stage rather than after the rough openings are already framed.
If you're planning new construction near Mountain Lake and want a straight answer on what your window package should look like for this climate, we're happy to walk the plans with you. Reach out for a free, no-pressure estimate using the form below.