 Orcas Island Siding
 Building New in Lopez Village: What the Windows Have to Handle
Putting windows into a new-construction shell is a different job than swapping out old ones in an existing wall. There's no old flashing to inspect, no rot to uncover, no compromises to make around existing trim. You get one real chance to build the water management right from the sheathing out — and on Lopez Island, that first chance matters more than it does in a lot of places.
Lopez Village sits close to the water, and homes here take on a steady mix of salt-laden air, wind-driven rain, and a long damp season where moss and algae get a foothold on anything that stays wet. None of that is exotic weather. It's just persistent. A window installed correctly here will outlast the house's first few paint cycles without a complaint. A window installed with shortcuts — caulk instead of proper flashing, missing sill pans, fasteners that aren't rated for coastal exposure — tends to show it within a few wet winters, usually as staining, soft trim, or a draft that wasn't there at the walkthrough.
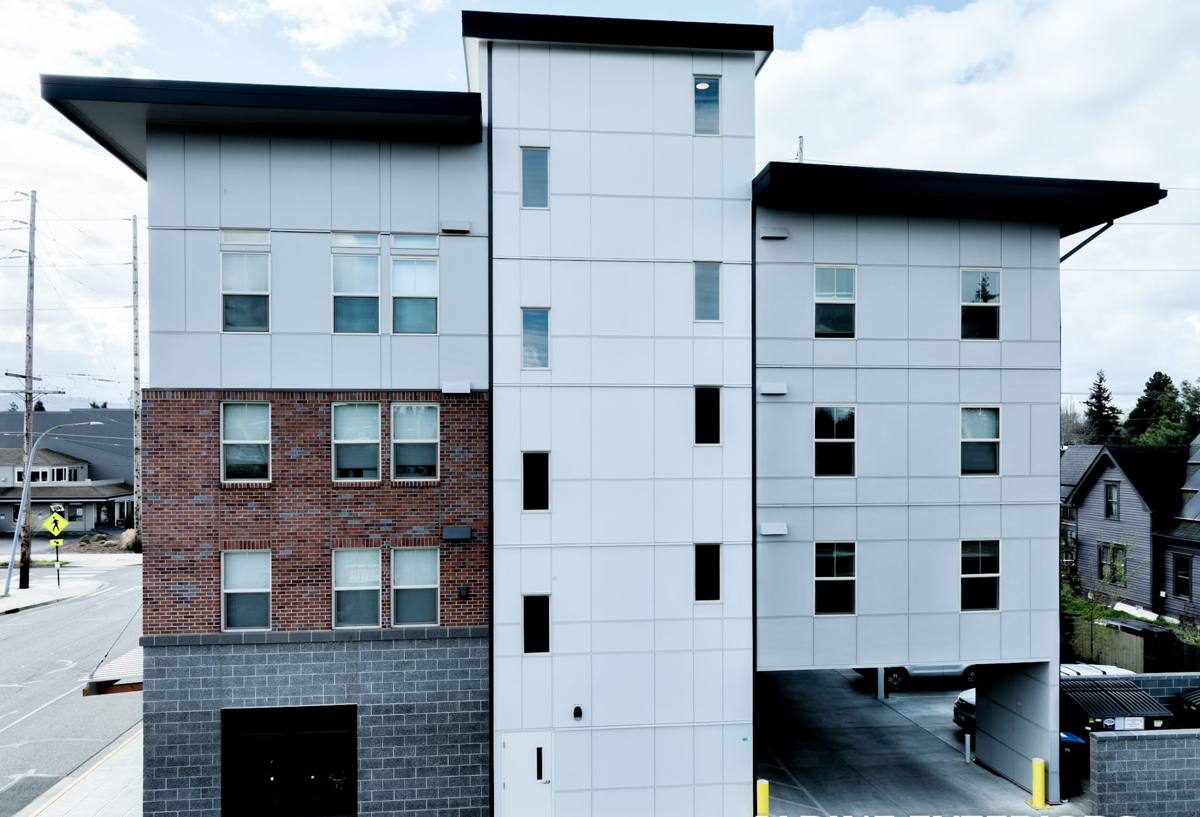
New Construction vs. Replacement: Why the Job Isn't the Same
On a replacement, we're often working around what's already there — matching an existing rough opening, working inside finished walls, sometimes making do with flashing details that were never great to begin with. On new construction, the rough openings, the weather-resistive barrier, and the flashing sequence are all still open and accessible. That's an advantage, but only if the crew treats it as one.
The most common failure we see on new builds isn't a bad window — it's a rushed installation sequence. Framers hand off to window installers, window installers hand off to siding crews, and if nobody owns the water path from top to bottom, gaps show up at the handoffs. On a new-construction job, our goal is to control that sequence end to end rather than drop windows into openings and move on.
What "Correct" Looks Like on a New Build
- Weather-resistive barrier lapped correctly before the window ever goes in
- Sloped sill pan flashing under every window, not just the ones facing weather
- Corner flashing patches at the sill corners, done before the window sets
- Window set plumb, level, and square, with shims at all manufacturer-specified points
- Head flashing installed last, lapped over the side flashing and integrated with the barrier above
- Backer rod and sealant at the interior and exterior trim lines — sealant is a backup, not the primary water barrier
- Fasteners and flashing tape rated for coastal, high-moisture use
Materials: What Holds Up Near the Water
There's no single "best" window material for every project — it depends on budget, the home's design, and how exposed the elevation is. What we do steer people away from on Lopez Village builds are products that need frequent upkeep to stay weathertight in salt air, since that's a maintenance burden most owners don't want to sign up for on a house they just built.
| Material | How It Handles Salt Air & Moisture | Maintenance | Typical Fit |
|---|---|---|---|
| Vinyl | Good — won't corrode or rot; seams and welds matter | Low | Value-focused builds, most elevations |
| Fiberglass | Very good — stable in temperature swings, resists corrosion | Low | Exposed, weather-facing walls |
| Wood-clad (exterior clad, interior wood) | Good exterior performance if cladding and flashing are done right; interior wood needs a dry envelope | Moderate | Homes wanting a wood interior look |
| Bare aluminum | Prone to corrosion and condensation in marine air unless heavily upgraded | Higher | We generally steer clients toward other options for this reason |
Whatever material an owner chooses, we make sure the glazing package matches Pacific Northwest conditions — low-E coatings tuned for our overcast-heavy light rather than a hot, sunny climate, and gas-filled insulated units sized correctly for the wall assembly.
Flashing and Water Management: The Part That Actually Prevents Callbacks
Almost every window failure we're asked to look at, whether it's a leak, staining, or rot at the sill, traces back to flashing — not the window unit itself. On new construction, we build the flashing sequence in a specific order so every layer sheds water onto the layer below it, all the way down to the weather-resistive barrier and out at the bottom of the wall. Skipping the sill pan, relying on sealant alone at the head, or lapping tape in the wrong direction are the shortcuts that cause problems years down the road — often after the crew that installed them is long gone.
Because Lopez Village gets sustained wind-driven rain rather than just occasional downpours, we pay particular attention to elevations facing open water or prevailing weather. Those walls get the same flashing detail as every other wall — we don't treat any elevation as low-risk just because it's tucked behind the house, since wind here doesn't always behave the way you'd expect on a small island.
Our New-Construction Window Process
- Plan review — we confirm window sizes, swing directions, and egress requirements against the plans before anything is ordered.
- Rough opening check — verify openings are square, plumb, and sized correctly before the barrier goes on.
- Barrier and flashing prep — weather-resistive barrier and sill pan flashing installed in the correct lap sequence.
- Window set — unit set plumb, level, square, and shimmed per manufacturer instructions, then fastened.
- Head and side flashing — integrated with the barrier above and beside the opening.
- Interior and exterior sealing — backer rod and sealant at trim lines, interior air sealing per code.
- Final check — operation, hardware, and seals tested before we move to siding or trim.
We coordinate this sequence directly with the framing and siding crews rather than treating window installation as an isolated task, since most of the failure points happen at those handoffs.
Energy Performance and Orientation on a Small Island
San Juan County's climate is mild but overcast much of the year, so window performance conversations here are less about blocking intense heat and more about controlling heat loss, condensation, and drafts through the damp season. On new construction, we take orientation into account when discussing glazing packages — a north-facing wall of glass performs differently than a sheltered south wall, and window placement affects both comfort and long-term condensation risk on the interior.
We also factor in that Lopez Village homes often sit exposed to marine wind, which increases infiltration risk at any opening that isn't sealed correctly. Getting the air sealing detail right at the rough opening does more for comfort than upgrading glass alone.
Common Mistakes We Catch on New Builds
- Sill pan flashing skipped or improvised with sealant only
- Flashing tape lapped in the wrong direction, directing water into the wall instead of out
- Windows fastened before shimming is checked, leaving units slightly out of square
- Trim installed before flashing is fully integrated with the barrier
- Fasteners or flashing tape not rated for long-term coastal exposure
- Inconsistent detailing between elevations, with weather-facing walls getting more care than sheltered ones
Most of these aren't visible at final walkthrough. They show up two, five, or ten years later as staining, soft wood, or a draft — which is exactly why the sequence has to be right the first time on a new build.
Why It Matters to Hire a Crew That Already Works Lopez Village
A crew that works Orcas Island and the surrounding San Juan islands regularly already knows how local wind and rain patterns behave, what elevations tend to take the most weather, and how quickly moss and algae establish themselves on north-facing and shaded surfaces here. That's not something you pick up from a spec sheet — it comes from having done the work in this specific environment. It also means logistics are already worked out: getting materials, crews, and equipment to an island job site on schedule is its own challenge, and a contractor who already handles that routinely won't be improvising it on your project.
We also stand behind the installation itself, not just the window product. Manufacturer warranties typically cover the unit; a contractor's own installation warranty is what covers the flashing, sealing, and workmanship around it — and that's usually where problems actually originate.
Before You Sign a Window Contract, Ask
- Will sill pan flashing be installed under every window, not just some?
- What flashing tape and fasteners are being used, and are they rated for marine/coastal exposure?
- Who is responsible for the flashing sequence — the framer, the window installer, or the siding crew?
- What does the installation warranty cover, separate from the manufacturer's window warranty?
- Has this crew installed windows on Orcas Island or nearby islands before?
Get a Straight Answer for Your Lopez Village Build
Every new-construction project is a little different depending on the plans, the elevations, and how exposed the site is to wind and rain. If you're framing a home in Lopez Village and want windows installed with the flashing and sequencing done right the first time, we're happy to walk the plans with you and give you a straightforward, no-pressure estimate using the form below.