 Orcas Island Siding
 Salt Air, Rain, and Moss: What San Juan Island Siding Is Up Against
San Juan Island sits in the middle of the Salish Sea, and that location shapes everything about how siding ages here. Homes get a steady dose of salt-laden marine air, which speeds up corrosion on fasteners, trim, and any siding material that isn't built to handle it. Add in the long stretch of wet months typical of San Juan County, where driving rain comes in sideways off the water during winter storms, and you have conditions that find every weak seam, gap, and unsealed joint in a siding system.
Then there's moss. The combination of shade from evergreen tree cover, persistent moisture, and mild temperatures gives moss and algae a long growing season on this island — often close to year-round on north-facing walls and anywhere siding stays damp longer than it should. Moss holds water against the siding surface, and that trapped moisture is where most of the repair calls we get actually start: swelling, soft spots, peeling paint, and rot that's gone further than it looks from the ground.
None of this means siding on San Juan Island is doomed to fail early. It means repairs here need to account for conditions that are more aggressive than what you'd see on a typical inland home, and that a "quick patch" approach often doesn't hold up through a second or third wet season.
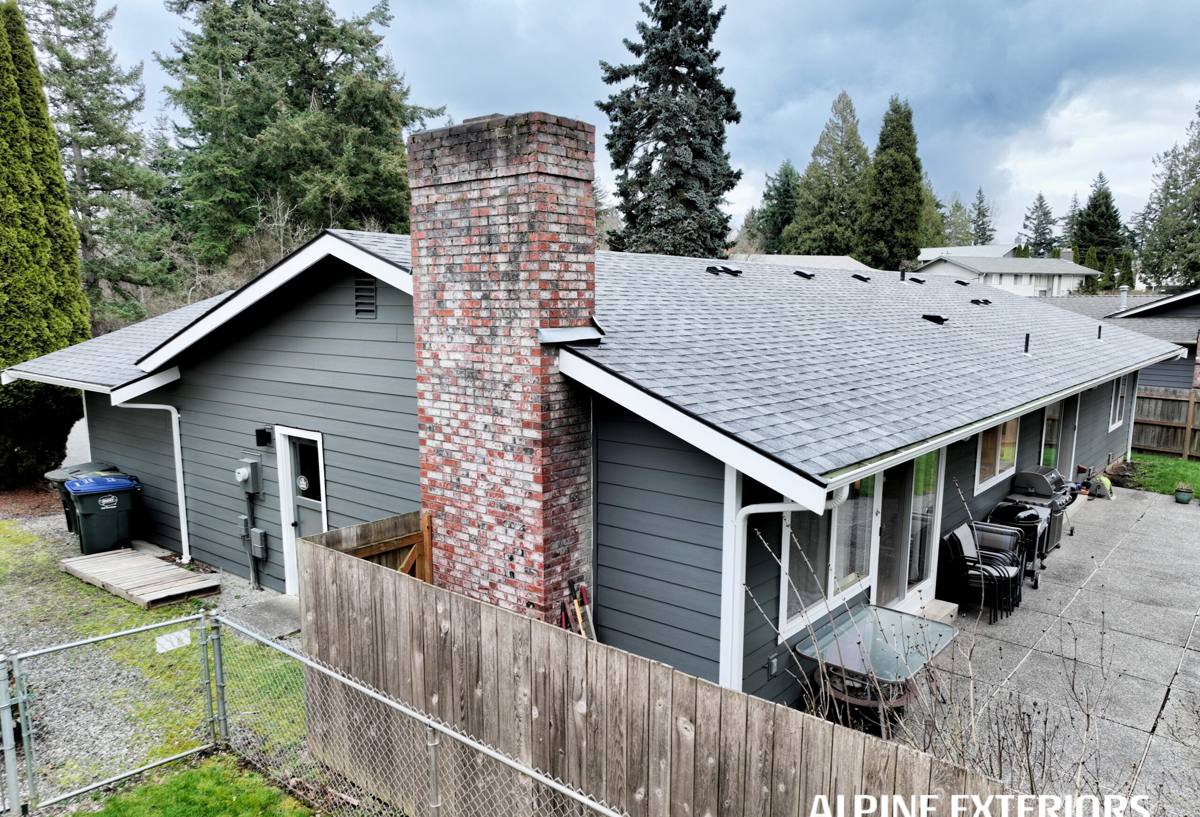
Signs Your Siding Needs Repair
Most siding problems give warning signs well before they become structural. Catching them early is the difference between a contained repair and a much larger job. Walk your exterior periodically and look for:
- Soft, spongy, or bubbling spots when you press on the siding, especially near the bottom edges and corners
- Visible gaps, cracks, or separated joints where panels or boards meet
- Paint that's peeling, bubbling, or flaking in a localized area rather than across the whole wall
- Heavy moss or algae buildup that stays green and damp instead of drying out between rains
- Warping, buckling, or panels that no longer sit flat against the wall
- Staining or streaking below window sills, trim boards, or roof-to-wall intersections
- A musty smell or visible moisture on the interior side of an exterior wall
- Missing, cracked, or dried-out caulk at seams, corners, and penetrations (vents, hose bibs, light fixtures)
Any one of these on its own might be minor. Several together, or any sign near a roofline, deck ledger, or window, usually means water has already found its way behind the siding and the repair needs to address what's underneath, not just what's visible.
What a Correct Siding Repair Actually Involves
A siding repair that actually solves the problem starts with figuring out how the water got in, not just replacing the damaged piece. On San Juan Island, that usually means checking the flashing at windows, doors, and roof intersections, inspecting the house wrap or weather-resistive barrier where it's exposed, and confirming that trim and butt joints were sealed correctly in the first place. Skipping this step is the single biggest reason repairs fail within a year or two — the new piece looks fine, but the underlying leak path is still there.
What We Check Before Touching the Siding
Before any repair work starts, a proper assessment covers the extent of water intrusion into the sheathing, whether framing or insulation behind the siding has been affected, the condition of flashing and building paper in the repair zone, and whether the damage is isolated or a sign of a broader installation issue across that wall. This is also when we confirm whether a section can be matched and repaired, or whether the damaged run needs to come out entirely.
Doing the Repair Right
Once we know what we're dealing with, the repair itself involves removing damaged material back to sound substrate, addressing and repairing the actual moisture entry point (not just papering over it), replacing or correcting flashing where needed, and installing new siding material that's properly fastened, gapped, and sealed to shed water the way the original installation should have. The finish work — caulking, paint or factory-finish matching, and trim details — gets done to blend with the surrounding siding, not just to look "patched."
Common Repair Issues We See on San Juan Island Homes
Moisture and Rot at Trim, Corners, and Butt Joints
These are the highest-risk points on any siding system because they're where two materials or two pieces meet. On island homes exposed to sustained wet weather, unsealed or poorly caulked joints are consistently where rot starts, especially at outside corners and anywhere trim boards meet siding panels.
Moss and Algae Growth
Beyond the cosmetic issue, moss growth that's allowed to build up traps moisture against the siding surface long after the rain has stopped. On shaded walls and roof-adjacent siding, this can quietly soften the material underneath the growth long before it's visible from a normal viewing distance.
Caulk and Sealant Failure
Caulk has a service life, and salt air combined with UV exposure and repeated wet-dry cycles shortens it. Failed caulk at seams and penetrations is one of the most common — and most fixable — issues we find, but it has to be caught before water gets behind it and causes damage that requires more than resealing.
Storm and Impact Damage
Winter storms off the water can drive debris, branches, and wind-blown rain hard enough to crack, dent, or dislodge siding panels, particularly on more exposed elevations. This kind of damage is usually straightforward to repair but shouldn't sit unaddressed through another storm season, since an open gap is a direct path for water.
Repair or Replace? How We Make That Call
Not every siding problem calls for full replacement, and not every problem should be patched. The right call depends on how widespread the damage is, what's causing it, and how much useful life is left in the rest of the siding. Here's roughly how we think through it:
| Situation | Typical Recommendation | Why |
|---|---|---|
| Isolated damage (storm impact, one bad joint, small rot area) | Targeted repair | The rest of the siding is sound; fixing the specific failure point solves the problem |
| Recurring moisture damage in the same area, already repaired once before | Repair the siding and correct the underlying cause (flashing, grading, ventilation) | A repeat failure means the first repair didn't address the actual water path |
| Widespread rot, warping, or moss damage across multiple walls | Full or partial replacement | Patching individual sections on a system that's failing broadly rarely holds up and costs more over time |
| Siding nearing or past its expected service life with scattered failures | Replacement, evaluated wall by wall | Continued repairs on aging material become a cycle rather than a fix |
We'll always tell you honestly which category your home falls into, and we won't recommend a full replacement when a proper repair will genuinely solve the problem.
What Happens When Repair Isn't Enough
We repair whatever siding material is currently on your home, whatever the brand or type. But when the damage is too widespread to responsibly patch, or when a wall has failed enough times that repair has stopped being cost-effective, we'll say so directly and talk through replacement. On those projects, our own installs are exclusively James Hardie fiber cement — it's a non-combustible, climate-engineered product line with a factory-applied ColorPlus finish and a strong transferable warranty, and it holds up well against the exact conditions that cause the most repair calls out here: sustained moisture, salt exposure, and long wet seasons. We won't push a full replacement on you when a repair is the honest answer, but if your siding is genuinely at that point, we'll tell you what we'd put on the house and why.
Our Process for San Juan Island Repair Projects
Working on an island adds a scheduling layer that mainland jobs don't have, and we plan around it rather than treating it as an afterthought:
- Initial assessment — we look at photos or do a site visit to scope the damage, check for underlying moisture issues, and give you an honest read on repair versus replacement
- Detailed inspection — on-site, we check behind the visibly damaged area, inspect flashing and the weather barrier where accessible, and confirm the full extent of the work
- Clear scope and estimate — you get a specific plan for what's being repaired, what caused it, and what it will cost, with no vague allowances
- Scheduled, efficient site time — because ferry logistics matter for island work, we plan material and crew arrival together so the job moves without unnecessary return trips
- Finish and match — repaired sections are sealed, finished, and matched to the surrounding siding so the fix blends in rather than standing out
Why Hire a Crew That Already Works San Juan Island
Island work isn't the same as mainland work, and it shows in the details. A contractor who doesn't regularly work in San Juan County has to build ferry schedules, material logistics, and travel time into every visit from scratch — and that unfamiliarity tends to turn into delays, extra trips, or corners cut to make the timeline work. A crew that already works Orcas Island and the surrounding San Juan Islands plans material orders and scheduling around the ferry system as a matter of course, so your repair isn't held up by logistics nobody accounted for.
There's also the climate-specific knowledge that comes from actually working on island homes repeatedly: knowing which elevations take the worst weather, which older installation habits tend to fail first in this environment, and what a repair needs to hold up through another wet season here rather than a milder inland one.
Keeping Your Siding in Good Shape After the Repair
A good repair should buy you years, not months, if it's paired with a little regular attention. Rinse off heavy moss and algae buildup before it has a chance to hold moisture against the surface, especially on shaded, north-facing walls. Keep an eye on caulk lines at trim, corners, and penetrations, since that's usually the first thing to fail again if it's going to. Trim back vegetation and tree cover that keeps siding shaded and damp longer than the rest of the house, and after any major winter storm, take a quick walk around the exterior to catch new damage early rather than finding it months later as a soft spot or a stain.
If you're seeing signs of trouble, or you just want an honest opinion on whether a repair or a replacement makes sense for your home, we're happy to take a look. Fill out the form below for a free, no-pressure estimate.