 Orcas Island Siding
 Building New in San Juan County? The Windows Deserve as Much Planning as the Framing
If you're framing a new home or a major addition near Friday Harbor, the window package is one of the few decisions that affects everything else on the job — energy performance, moisture management, how the walls dry, and how the house looks for the next thirty years. On the mainland, a window installer can get away with sloppy flashing details for a while before anyone notices. On an island exposed to salt air, driving rain, and a long moss season, mistakes show up fast: streaking, stuck sashes, soft trim, and water stains inside walls that were supposedly "sealed."
New construction is actually the best time to get this right. Unlike a retrofit, you're not working around existing trim and siding — you get to build the water management system into the wall assembly from the start, choose window products matched to the site's exposure, and coordinate directly with the framing and siding crews so nothing gets covered up before it's inspected. That's the opportunity, and it's also where a lot of new builds quietly go wrong.
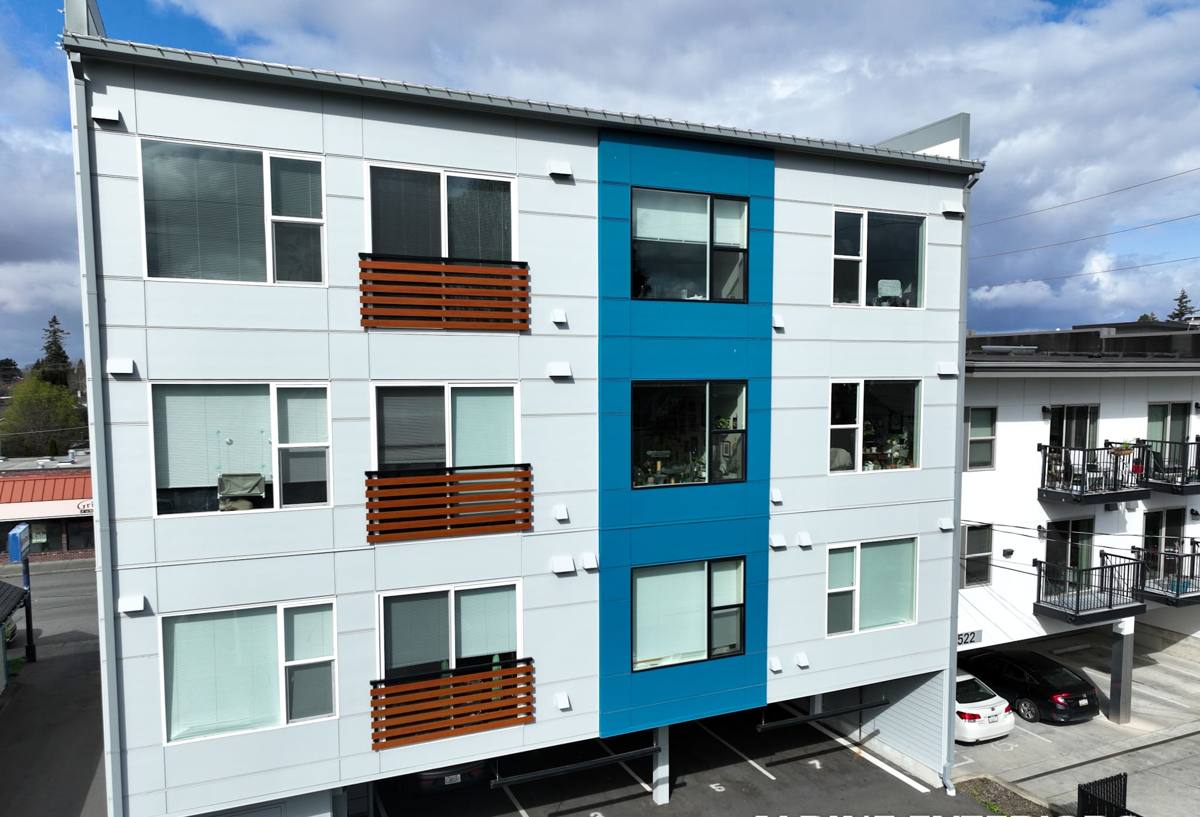
What San Juan County's Climate Actually Does to New Windows
Friday Harbor and the surrounding island communities sit in a marine environment that's gentler on temperature swings than inland Washington but harder on materials in other ways:
- Salt-laden air off the water accelerates corrosion on fasteners, hinges, and lower-grade hardware, and it can dull or pit certain metal finishes over time.
- Driving, wind-blown rain hits window heads and sills at an angle, not just straight down — a detail that matters enormously for how flashing is lapped and where sealant is (and isn't) needed.
- A long damp/moss season keeps north- and shade-facing walls wet for extended stretches, which means any water that gets behind the cladding has less chance to dry out before it causes rot.
None of this means island homes need exotic products. It means the product selection and the installation detailing both have to account for sustained moisture exposure, not just occasional rain.
Why This Matters More at the New-Construction Stage
A window installed with a poor flashing detail in an existing wall might leak in five or ten years. The same mistake made during new construction gets sealed behind siding, trim, and interior finish immediately — so if it's wrong, nobody finds out until there's a stain on the drywall or soft sheathing at a remodel decades later. Getting the detail right once, while the wall is open, is far cheaper than any repair down the road.
Choosing the Right Window Product for a Friday Harbor Build
There's no single "best" frame material — the right call depends on the home's exposure, budget, and how much maintenance the owner wants to do. Here's how the common options generally compare for an island building site:
| Frame Material | Salt-Air / Moisture Behavior | Maintenance | Typical Cost Tier |
|---|---|---|---|
| Vinyl | Won't corrode or rot; performs well in salt air | Low — occasional cleaning | Lower |
| Fiberglass | Very stable in temperature and moisture swings; strong long-term durability | Low | Mid to upper |
| Wood-clad (exterior clad, wood interior) | Good if cladding and flashing details are correct; interior wood needs protection from any water intrusion | Moderate | Upper |
| Aluminum | Prone to corrosion in salt air unless properly finished/anodized; also a poor thermal performer without a thermal break | Moderate to high | Varies |
For most new builds in this area, vinyl or fiberglass frames offer the best balance of corrosion resistance and value. We're glad to install quality wood-clad windows when a homeowner wants that look, but we're upfront that the exterior cladding, sill design, and flashing all have to be executed correctly for the wood interior to stay protected in a wet climate — there's less room for error than with an all-vinyl or all-fiberglass unit.
Glass Package and Orientation
San Juan County doesn't hit the extreme heat of eastern Washington, but a good low-E glass package still pays off — it manages heat loss through the long, cool, wet season and cuts glare and heat gain on the days the sun does come out. On a new build we look at each elevation's orientation and exposure to weather before finalizing the glass spec, rather than putting the same package on every window in the house.
What a Correct New-Construction Window Installation Actually Involves
The window unit itself is only part of the job. The water management system around it — built into the rough opening before the window ever goes in — is what determines whether the house stays dry for decades. On new construction, that system includes:
- A sloped sill pan at the rough opening so any water that gets past the window has somewhere to go — out, not into the wall.
- Proper lapping of the weather-resistive barrier (WRB) and flashing tape, shingle-style, so every layer sheds water onto the layer below it.
- Head flashing sized and installed to handle wind-driven rain, not just vertical rain.
- Correct shimming and fastening so the window operates properly and doesn't rack or bow over time.
- Backer rod and sealant at the right joints — sealant is not a substitute for proper flashing, it's a second line of defense.
- Insulation in the gap between the frame and rough opening, without overcompressing low-expansion foam in a way that bows the frame.
Every one of these steps has to happen in the right order, and most of them are invisible once the siding goes on. That's exactly why they need to be done right the first time and, ideally, documented or inspected before they're covered.
A Practical Checklist for Homeowners and Builders
If you're a homeowner keeping an eye on your own project, or a builder bringing in a window sub, these are the things worth confirming before the wall gets closed up:
- Rough openings are sized correctly and squared before windows arrive on site.
- Sill pan flashing is installed and sloped to drain outward, not just a bead of caulk.
- WRB and flashing tape are lapped in the correct shingle order at head, jambs, and sill.
- Windows are shimmed level, plumb, and square, and check for smooth operation before final fastening.
- Fasteners and hardware are rated for coastal/marine exposure.
- Photos are taken of flashing details before siding installation, for the homeowner's records.
How We Work With Builders and Framing Crews
Most of our new-construction window work happens in coordination with a general contractor or framing crew, not in isolation. That means:
- We review the window schedule and rough opening dimensions against the actual product specs before the units are ordered — catching sizing mismatches on paper is a lot cheaper than catching them on site.
- We time our install around the framing and WRB schedule so windows go in as soon as the wall is ready, keeping the building envelope closed up before weather moves in.
- We flag any wall assembly details — like inadequate flashing laps or missing sill pans from other trades — before they get covered, rather than after.
On San Juan County builds specifically, we also factor in ferry and barge scheduling for material delivery. Windows for an island project typically need to be ordered further ahead of the install date than a mainland job, and a missed delivery window can stall a framing crew for days. We build that lead time into the schedule up front instead of discovering it midway through the job.
Why Local Experience on Orcas Island and San Juan County Jobs Matters
A crew that mostly works inland jobs may not think twice about wind-driven rain angles, salt exposure on hardware, or how long a north wall stays damp during moss season here. Those aren't exotic concerns — they're just details that only show up as a problem after a few island winters if they're missed. Working regularly in this area means we've already seen how these choices hold up locally, and we bring that into every new-construction window job rather than treating it like a standard mainland install.
We also know the practical side of building on an island: coordinating deliveries around ferry schedules, working around weather windows that can close quickly, and communicating clearly with off-island homeowners who can't always be on site to watch the work happen in person.
What This Looks Like on Your Project
For a new build or major addition, our process is straightforward:
- Review plans, window schedule, and rough opening details before materials are ordered.
- Confirm product selection based on each elevation's exposure to wind, rain, and sun.
- Coordinate delivery timing with the realities of getting materials to the island.
- Install sill pan flashing, WRB integration, and head flashing to shed water outward at every opening.
- Set, shim, and fasten each window for proper operation and long-term structural stability.
- Document flashing details before siding closes the wall, so there's a record of what's behind the finish.
If you're planning a new build or addition in or around Friday Harbor and want windows detailed correctly from the framing stage on, we're happy to walk the plans with you or your builder and put together a straightforward, no-pressure estimate.