 Orcas Island Siding
 Windows Built for Shaw Island's Marine Climate
Shaw Island sits in the heart of San Juan County, surrounded by the same salt water and weather patterns that shape every home on Orcas Island and the surrounding islands. Homes here deal with a specific combination of conditions: salt-laden air that corrodes unprotected metal, driving rain that comes in sideways during winter storms, and a long moss season where shade, humidity, and cool temperatures let organic growth take hold on anything that stays damp too long. Windows are one of the first components on a house to show the effects of that environment, and one of the most expensive to get wrong.
A window that's a great fit for a dry inland climate can struggle here. Frame materials that hold moisture, hardware that isn't rated for coastal exposure, and installation flashing that isn't detailed for wind-driven rain all shorten a window's working life on an island property. Understanding that difference is the starting point for any window project on Shaw Island, whether it's one replacement window or a whole-house upgrade.
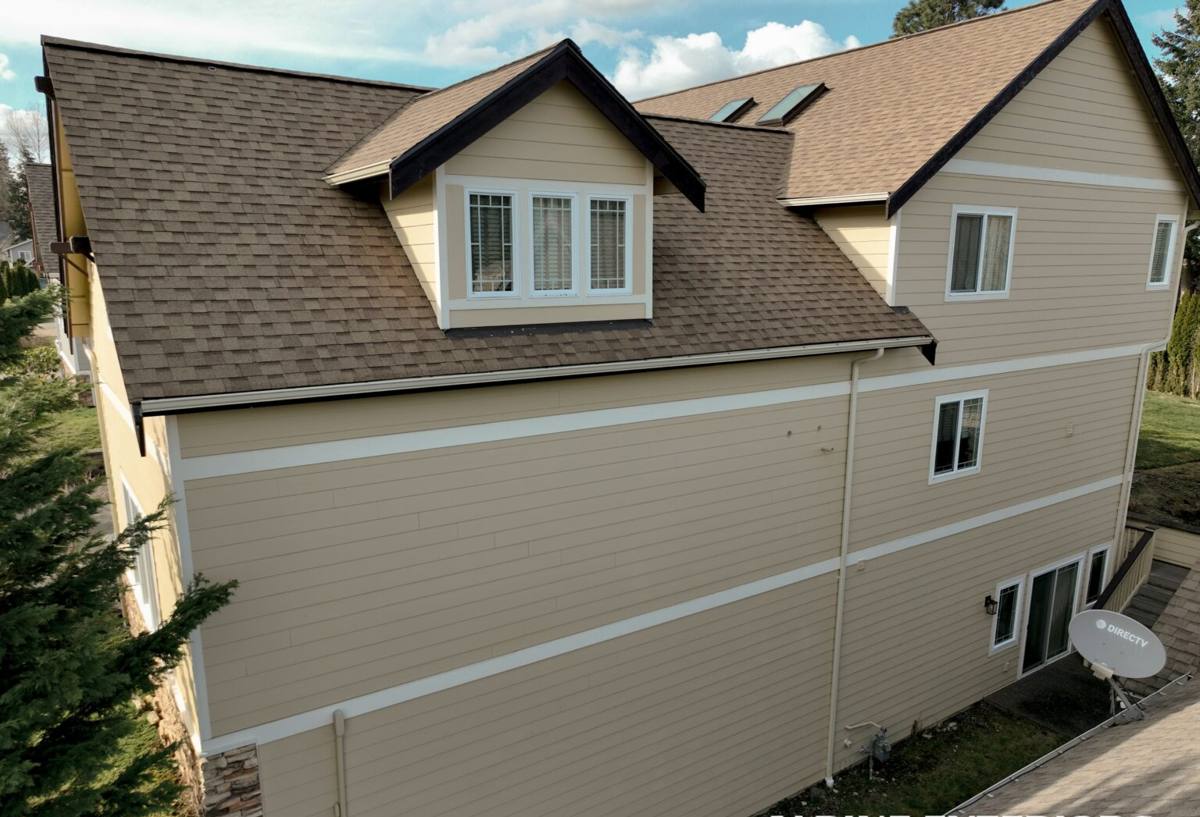
What Shaw Island Homes Need From Their Windows
Salt Air Resistance
Salt air accelerates corrosion on hardware, fasteners, and any exposed metal components. Window frames, cranks, hinges, and locks need finishes and materials that are rated to hold up in a marine environment, not just a general residential-grade coating. This matters most on homes with direct water exposure or open sightlines to the shoreline, but salt travels on the wind further than most homeowners expect, so it's a factor for interior properties too.
Wind-Driven Rain Performance
Storms in the San Juans don't just bring rain straight down — they push it sideways against the building envelope. A window can be a good product and still leak if the flashing, sill pan, and sealant details around it aren't built for that kind of exposure. This is where installation quality matters as much as the window itself. We've seen good windows fail early because of poor flashing work, and we've seen modest windows perform for decades because they were installed correctly the first time.
Moisture and Moss Management
The long, cool, damp season on Shaw Island creates ideal conditions for moss, algae, and mildew to establish themselves anywhere moisture sits still. Window sills, trim, and the transition points between the window and the surrounding siding are common spots for this to start. Detailing that sheds water quickly and doesn't trap it against wood or trim reduces how much of this maintenance burden ends up on the homeowner.
Signs a Shaw Island Home Needs Window Work
- Visible water staining, soft wood, or bubbling paint on the interior or exterior trim around a window
- Drafts or noticeable temperature difference near windows even when they're closed
- Fogging or a persistent haze between the panes of a double-pane window, which signals a failed seal
- Windows that are difficult to open, close, or lock, often from swollen frames or corroded hardware
- Visible moss, algae, or dark staining building up on sills or in the corners of window frames
- Rising heating bills without another clear explanation
- Condensation forming on the interior glass regularly during colder months
Any one of these can be minor on its own, but they tend to compound. A window that's letting in drafts is also a window that's more likely to be letting in moisture, and moisture is what starts the rot and moss cycle that eventually requires more than a simple window swap.
What a Correct Installation Involves
Window installation is often treated as a straightforward swap — old window out, new window in. On an island property exposed to wind-driven rain, that approach leaves gaps that show up as leaks a season or two later. A proper installation on Shaw Island includes several steps that don't skip regardless of the window brand or budget:
Opening Inspection
Before a new window goes in, the rough opening gets inspected for hidden rot, water damage, or framing issues from the old window's flashing failing. Installing a new window into a compromised opening just hides the problem temporarily.
Sill Pan Flashing
A sloped, sealed sill pan under the window directs any water that gets past the exterior seal back outside instead of into the wall cavity. This is one of the most commonly skipped steps in budget installations, and it's one of the most important for a coastal property.
Weather-Resistant Barrier Integration
The window's flashing needs to integrate correctly with the house's weather-resistant barrier so water is shed in the right direction — over each layer, never behind it. This is a detail that's easy to get wrong and hard to inspect after the siding goes back on, which is why it has to be done right the first time.
Air Sealing and Insulation
The gap between the window frame and the rough opening gets properly air-sealed and insulated, not just stuffed with foam. Done correctly, this reduces drafts and helps the window perform closer to its rated efficiency.
Trim and Finish Work
Exterior trim gets sealed and finished in a way that sheds water and doesn't create moisture traps, which matters directly for keeping moss and algae from establishing themselves in the first place.
Choosing the Right Window for the Location
| Factor | Why It Matters on Shaw Island |
|---|---|
| Frame material | Needs to resist moisture absorption and hold up to salt air exposure without warping or corroding over time |
| Hardware finish | Coastal-rated hardware resists corrosion; standard interior hardware can pit and seize within a few years near salt air |
| Glass package | Double or triple-pane with a quality low-E coating helps with both energy performance and condensation control in a humid climate |
| Exposure direction | Windows facing prevailing storm direction need more rigorous flashing and sealant detail than sheltered walls |
| Sill design | A sill that slopes outward and sheds water quickly reduces the standing moisture that leads to rot and moss |
There isn't one "best" window brand for every home on Shaw Island — the right choice depends on the home's exposure, existing framing, and the homeowner's budget and maintenance preferences. What matters more than the label on the window is whether the product and the installation are matched to the actual conditions the window will face on that specific wall of that specific house.
Why We Take a Careful Approach to Certain Products
Some window and frame options that work fine in drier, inland climates aren't ones we recommend for direct coastal exposure on the islands. This isn't because those products are bad — it's a matter of matching the product to the environment. Frame materials that are more prone to absorbing moisture, or that require more frequent sealing and maintenance to stay watertight, create an ongoing maintenance burden that most homeowners don't want to sign up for on a property they may not visit or check on every week. We'd rather walk a homeowner through the trade-offs upfront — cost, maintenance, expected lifespan in a marine environment — than install something that looks fine on day one and becomes a recurring problem by year five.
Our Process for Shaw Island Projects
1. On-Site Assessment
We look at the actual condition of the existing windows and openings, the home's exposure to wind and rain, and any signs of past water intrusion before recommending anything.
2. Honest Recommendation
We walk through window and material options suited to the home's specific exposure, with straightforward information about cost ranges and maintenance expectations for each.
3. Scheduling Around Ferry Logistics
Working on Shaw Island means planning material delivery and crew scheduling around the ferry system. We build that into the project timeline upfront so it doesn't turn into a surprise delay mid-project.
4. Installation
Our crew handles flashing, sealing, and finish work to the same standard on every window, whether it's a single replacement or a full-house project.
5. Final Walkthrough
We review the completed work with the homeowner and make sure everything opens, closes, locks, and seals the way it should before we consider the job finished.
Cost Factors Homeowners Should Understand
| Cost Driver | What Affects It |
|---|---|
| Number of windows | Per-window costs typically drop somewhat on larger multi-window projects due to shared setup and mobilization |
| Window size and type | Larger openings, custom shapes, or specialty configurations cost more than standard sizes |
| Frame material and glass package | Coastal-rated hardware and higher-performance glass add cost but reduce long-term maintenance and energy loss |
| Condition of existing opening | Hidden rot or framing damage found during removal adds repair work beyond the window itself |
| Access and logistics | Island delivery and scheduling can add modest logistics costs compared to mainland projects |
Broad ranges vary widely based on these factors, which is why we prefer an on-site look before giving a number rather than a generic quote over the phone.
Why Local Experience on the Islands Matters
A crew that regularly works on Orcas Island, Shaw Island, and the surrounding San Juan County communities understands the ferry logistics, the way weather moves through the islands, and how quickly moss and moisture problems develop in this specific climate. That experience shows up in details a general contractor unfamiliar with island conditions might miss — flashing choices, hardware selection, and finish work that's built for salt air and driving rain rather than a generic installation standard. It also means realistic scheduling, since we already plan around the ferry system instead of treating it as an unexpected obstacle.
If you're noticing drafts, moisture, fogged glass, or general wear on your windows, or you're planning ahead for a home upgrade, we're happy to take a look and talk through your options. Reach out for a free, no-pressure estimate using the form below.