 Orcas Island Siding
 Why Siding Repair Looks Different on Orcas Island
A siding repair on Orcas Island isn't quite the same job as a siding repair on the mainland. Homes here sit closer to salt water, catch more wind-driven rain off the Strait and the Sound, and spend a good chunk of the year under tree cover that never fully dries out. That combination changes what fails first, how fast it fails, and what a correct repair actually needs to address. A patch that would hold up fine in a dry inland neighborhood can fail within a season out here if it doesn't account for moisture intrusion, salt exposure, and the moss and algae that thrive in San Juan County's damp, mild winters.
This page is about one job: repairing existing siding on homes in and around Orcas. Not a full re-side, not a general overview of siding materials — just what it takes to fix a damaged, deteriorating, or failing section of siding correctly, on this island, given this climate.
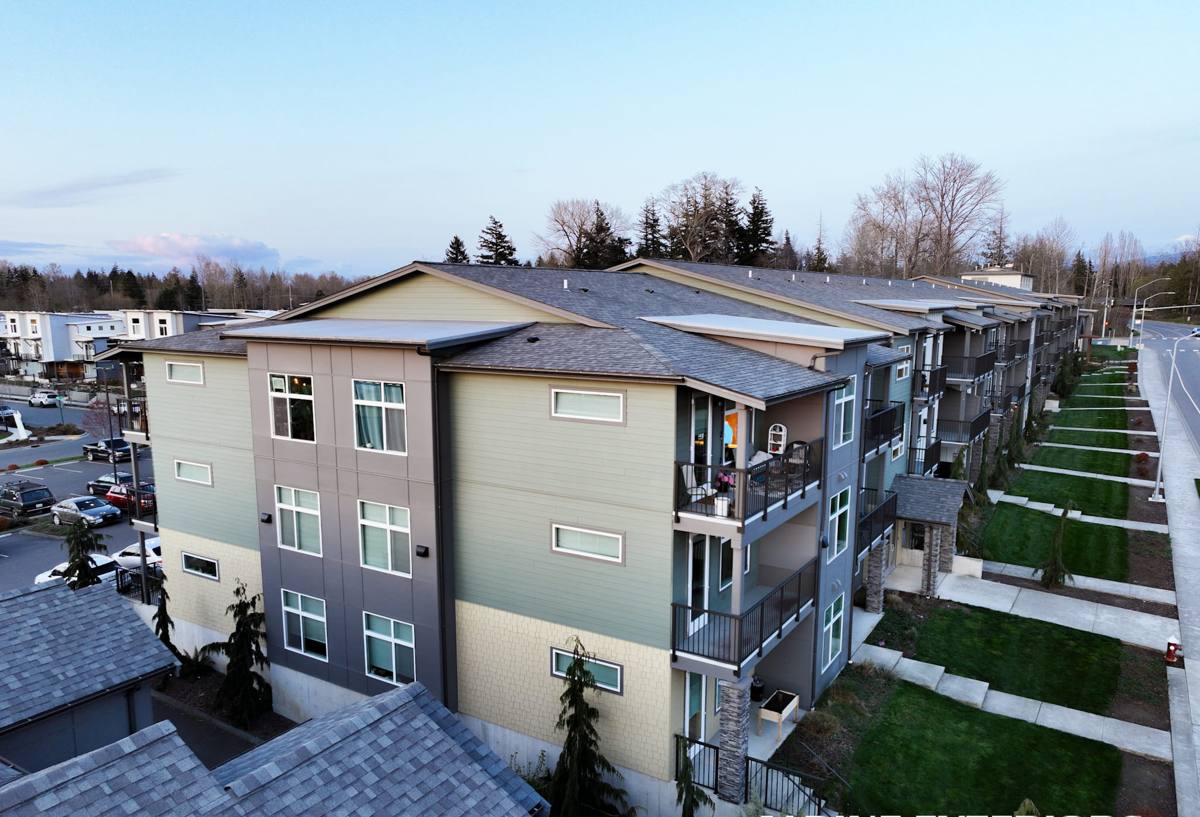
What San Juan County's Climate Actually Does to Siding
Three conditions do most of the damage we see on Orcas homes, and they rarely act alone.
Salt Air
Homes facing open water or exposed to prevailing wind off the water take in salt-laden air year-round. Salt is corrosive to fasteners, flashing, and any exposed metal trim, and it accelerates the breakdown of caulk and paint films. Siding that looks fine from the ground can have fastener corrosion or seal failure happening at the panel edges and around penetrations long before it's visible.
Driving Rain
Storms here don't just drop rain straight down — wind pushes it sideways, into laps, seams, and anywhere flashing or caulking has started to give. Once water gets behind a piece of siding, gravity and wind pressure can drive it further than you'd expect, which is why water damage often shows up several feet from where it actually entered.
A Long Moss Season
Shade, moisture, and mild temperatures mean moss and algae can grow on siding for eight or nine months of the year in parts of San Juan County, not just a few weeks in spring. Moss holds moisture against the siding surface far longer than open air would, and its root structure can work into seams and butt joints on wood-based products, softening the material underneath long before the surface looks obviously damaged.
Signs an Orcas Home Needs Siding Repair
Most homeowners call us after noticing one of the obvious things — a soft spot, a stain, a section that's visibly bowing. But several early warning signs get missed for a season or two, which is usually when a repairable problem turns into a replacement.
- Soft or spongy siding when pressed, especially near the bottom of walls or under windows
- Persistent black or green staining that returns quickly after cleaning
- Peeling or bubbling paint in one localized area rather than across the whole wall
- Visible gaps at seams, corners, or where siding meets trim, window casings, or the foundation
- Moss buildup in horizontal seams or butt joints, not just on the surface
- Musty smell or visible mold on the interior wall directly behind a suspect exterior section
- Fastener heads that have rusted, popped, or left rust streaks down the siding face
- Warping, cupping, or delamination on wood-based or engineered wood siding
Any one of these on its own might be minor. Two or three together, especially clustered in one area, usually means water has been getting in for a while.
Repair or Replace? How We Make the Call
Not every damaged section needs a full re-side, but not every problem should be patched either. The honest answer depends on what's driving the damage, how far it's spread, and what's underneath the siding itself.
| Factor | Leans Toward Repair | Leans Toward Replacement |
|---|---|---|
| Extent of damage | Isolated to one or two sections | Recurring across multiple walls or elevations |
| Sheathing condition | Dry, solid substrate underneath | Soft, rotted, or delaminated sheathing found on inspection |
| Material involved | Panels/boards still manufactured or closely matched | Discontinued product, poor color match available |
| Age of existing siding | Well within expected service life | Near or past the material's realistic lifespan |
| Underlying cause | One-time event (impact, isolated flashing failure) | Systemic moisture intrusion or chronic material failure |
The most important step is the one that happens before any decision gets made: pulling the damaged section and looking at what's actually behind it. Siding that looks bad on the surface sometimes covers dry sheathing. Siding that looks fine can be hiding a soaked wall cavity. We don't guess — we open it up, assess it, and tell you what we actually found before recommending a direction.
What a Correct Repair Actually Involves
A repair that's done right is slower and more deliberate than just swapping a bad board for a new one. Skipping steps is exactly how a "repair" turns into next year's bigger problem.
1. Remove Enough to See the Real Damage
Water damage almost always extends beyond the visibly stained or soft area. A correct repair removes siding past the damaged zone until the crew reaches solid, dry material — not just the section that looked bad.
2. Inspect and Repair the Water-Resistive Barrier
The house wrap or building paper behind the siding is what actually keeps bulk water out of the wall assembly. If it's torn, improperly lapped, or missing at the repair area, replacing the siding without fixing the barrier underneath just resets the clock on the same failure.
3. Correct the Flashing and Drainage Path
A large share of the repairs we make on Orcas trace back to flashing — around windows, at horizontal trim boards, at deck ledgers, or where a roof meets a wall. Water needs a clear path to shed away from the structure. If that path was never built correctly, or has failed over time, the repair has to fix the flashing detail, not just the siding on top of it.
4. Match Material and Fastening to the Original System
New siding, trim, and fasteners need to match the performance of the surrounding material, not just the appearance. Mixing incompatible materials or under-spec fasteners at a repair joint is a common shortcut that fails quickly in this climate.
5. Reseal and Finish to Spec
Caulking, priming, and finish coats have to be applied to manufacturer specification, in conditions that let them cure properly. Rushing this step in damp island weather is one of the most common reasons a repair looks fine on completion day and fails within a year.
Where We Draw the Line on Materials
We install James Hardie fiber cement siding exclusively — we don't install vinyl, LP SmartSide, primed spruce, cedar, or other fiber cement brands. That standard matters for repair work too, because what we find behind failing siding usually explains why we hold that line.
Wood-based and engineered wood products are especially vulnerable to the moss, moisture, and salt air combination common on Orcas. Once water gets past the surface finish, these materials can swell, delaminate, or lose structural integrity at the damaged area, and matching an aging wood-based product for a clean repair gets harder every year as formulations and profiles change. Vinyl doesn't rot, but it becomes brittle with age and UV exposure, cracks on impact, and offers no fire resistance — a real consideration for properties surrounded by dry brush in summer despite the island's wet winters.
James Hardie fiber cement holds up differently. It's non-combustible, it doesn't support rot the way wood-based products can, and its ColorPlus factory finish is baked on to resist the fading and moisture intrusion that plain paint films struggle with in a marine climate. When we repair a Hardie installation, we're generally repairing a flashing or installation detail — not fighting a material that's failing on its own.
Repairing Non-Hardie Siding
We're often called to look at homes sided in other materials, and we'll give you a straight assessment either way. If a small, isolated repair using compatible material makes sense, we'll say so. If the damage points to a material or installation problem that's going to keep recurring, we'll tell you that too — including when the more honest long-term answer is replacing the affected wall in Hardie rather than continuing to patch a system that keeps failing.
Our Repair Process, Start to Finish
- Inspection and diagnosis — We look at the visible damage and probe the surrounding area to find out how far it actually extends.
- Opening up the wall — We remove siding past the damaged zone to expose the sheathing and water-resistive barrier underneath.
- Honest assessment — We tell you what we found, what caused it, and what repair or replacement actually requires — before any work proceeds.
- Structural and barrier repair — Any soft sheathing, torn house wrap, or failed flashing gets corrected first.
- Siding and trim installation — New material is installed to manufacturer spec, matched as closely as possible to the surrounding siding.
- Sealing and finish work — Caulking, painting, or color-matching is completed in conditions that allow proper cure.
- Final walkthrough — We review the completed repair with you and explain what to keep an eye on going forward.
Why a Crew That Already Works Orcas Matters
Island logistics change how a repair project needs to be planned, and a contractor who doesn't already work here regularly can turn a straightforward repair into a scheduling headache.
- Ferry schedules affect crew arrival and departure, so realistic timelines need to build that in from the start
- Material and specialty fastener orders need extra lead time to get to the island, and a crew unfamiliar with that reality tends to under-order or delay
- Local weather windows for exterior work close faster here during the wet season, so scheduling has to be realistic rather than optimistic
- Salt air and moss patterns vary even within San Juan County depending on a home's exposure and tree cover, and a crew that works the island regularly recognizes those patterns faster
A crew that treats an Orcas repair as just another stop on the mainland route is more likely to underestimate the trip, rush the finish work to make a ferry, or miss the climate-specific details that actually matter here.
Maintaining Siding After a Repair
A correct repair should hold up for years, but a little seasonal attention goes a long way in this climate.
- Rinse moss and algae growth off siding surfaces before it has a chance to build up in seams and joints
- Trim back tree branches and vegetation that keep siding shaded and damp for long stretches
- Walk the exterior after major storms and check caulking at windows, trim, and penetrations
- Keep gutters clear so overflow doesn't run down siding faces or pool at the base of walls
- Address small paint or finish issues early, before moisture has a chance to get behind the surface
If you're noticing soft spots, staining, or recurring moss on your Orcas Island home's siding, we're happy to take a look and give you an honest read on what's going on — no pressure, no obligation. Fill out the form below and we'll get in touch to schedule a free estimate.